Cash App Taxes
Cash App is a mobile payment service developed by Square, Inc. It enables users to send and receive money, make purchases, and invest in stocks and Bitcoin using a mobile application.

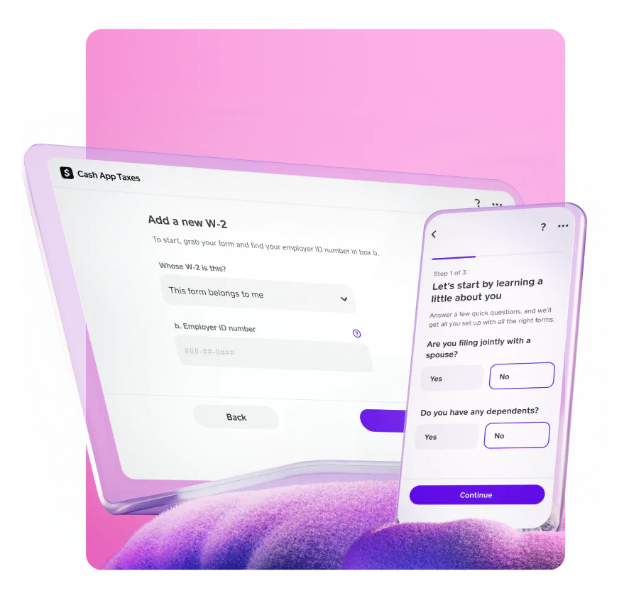
How do I Setup cash app taxes on my device?
Setting up Cash App for tax purposes involves keeping detailed records of your transactions and understanding the tax implications of your activities. Here’s a general guide to help you set up Cash App for tax-related considerations:
- Keep Detailed Records:
- Maintain a comprehensive record of all transactions conducted through Cash App. This includes money received, money sent, purchases, and any other financial activities.
- Understand Tax Forms:
- Cash App may issue tax forms, such as a 1099-K, if your transactions meet certain thresholds. Familiarize yourself with these forms and understand how they impact your tax reporting.
- Verify Your Personal Information:
- Ensure that your personal information on Cash App is accurate and up to date. This includes your legal name, address, and any other details that may be required for tax reporting.
- Check for Tax Documents:
- Cash App typically provides tax documents electronically. Check your email associated with your Cash App account or log in to the app to access any available tax forms.
- Separate Personal and Business Transactions:
- If you use Cash App for both personal and business purposes, consider keeping separate records for each. This can make it easier to report business-related income and expenses accurately.
- Verify Transaction History:
- Regularly review your transaction history within the Cash App to ensure it aligns with your records. This helps you catch any discrepancies and ensures accurate reporting.
- Understand Deductions:
- If you use Cash App for business purposes, be aware of any business-related expenses that may be deductible. Keep records of these expenses for potential tax benefits.
- Consult a Tax Professional:
- Tax laws can be complex, and they may vary depending on your location and individual circumstances. Consult with a tax professional or accountant to get personalized advice based on your specific situation.
- Utilize Cash App Settings:
- Check the settings within your Cash App account for any available features or options related to taxes. Cash App may provide resources or guidance on managing tax-related information.
- Be Aware of Local Tax Laws:
- Stay informed about the tax laws in your jurisdiction. Tax regulations can vary, and being aware of local requirements ensures that you comply with all reporting obligations.
What is a 1099-K, and why did I receive one from Cash App?

Yes, that’s correct. A 1099-K is a tax form used to report income received through payment processing services, and Cash App may issue this form to users if their transactions meet certain thresholds. The 1099-K form is typically provided by payment processors to both the IRS and the recipient of the income.
The thresholds for issuing a 1099-K can vary, but in the United States, for example, the IRS requires payment settlement entities to issue a 1099-K if a user exceeds 200 transactions and the total gross amount of payments exceeds $20,000 in a calendar year.
If you use Cash App for transactions and meet the criteria for receiving a 1099-K, you should ensure that you report the income accurately on your tax return. It’s important to review the information on the form and consult with a tax professional if you have any questions or concerns about how to handle it on your tax return.
How do I withdraw money from Cash App?
To withdraw money from Cash App, you can follow these general steps:
- Open the Cash App:
- Launch the Cash App on your mobile device. Make sure you are logged into your account.
- Navigate to the Balance Tab:
- At the bottom of the screen, you’ll see different tabs. Tap on the “Balance” tab. This is where you can view your current Cash App balance.
- Select “Cash Out”:
- Look for the “Cash Out” option, which allows you to transfer money from your Cash App account to your linked bank account.
- Enter the Amount:
- Enter the amount of money you want to withdraw from your Cash App balance.
- Choose Deposit Speed:
- Cash App may give you options for different deposit speeds. You might be able to choose between standard deposit (1-3 business days) or instant deposit (for a fee). Select the option that suits your preference.
- Select Your Bank:
- If you have multiple bank accounts linked to your Cash App, choose the one to which you want to transfer the funds.
- Enter PIN or Use Biometric Authentication:
- Depending on your security settings, you may need to enter your Cash App PIN or use biometric authentication (e.g., fingerprint or Face ID) to confirm the transaction.
- Review and Confirm:
- Review the withdrawal details, including the amount and destination bank account, and then confirm the transaction.
Once you’ve completed these steps, the funds should be transferred from your Cash App balance to your linked bank account. Keep in mind that while standard deposits are usually free, instant deposits may have associated fees.
It’s important to note that app interfaces and features can change, and my information is based on what was available as of my last update in January 2022. If you encounter any issues or if there are updates to the Cash App, you may want to refer to the app’s official documentation or contact Cash App support for the most accurate and up-to-date information.
Can I use Cash App for business transactions
Cash App is primarily designed for personal use, and its terms of service have historically discouraged business transactions. However, Cash App has introduced a separate service called “Cash App for Business” that is tailored for small businesses.
Here are a few points to consider:
- Cash App for Business:
- Cash App for Business is a separate service that allows small businesses to accept payments and use Cash App for business-related transactions. It provides additional features and settings suitable for business use.
- Separate Business Account:
- If you are using Cash App for both personal and business purposes, it’s advisable to keep separate accounts. Personal transactions should be conducted through your personal Cash App account, while business transactions should be managed through the Cash App for Business service.
- Business Verification:
- To use Cash App for Business, you may need to go through a business verification process. This typically involves providing additional information about your business.
- Business Transactions on Personal Accounts:
- While Cash App discourages using personal accounts for business transactions, some individuals and small businesses have used personal accounts for business-related activities. However, this practice may violate Cash App’s terms of service.
It’s important to check Cash App’s official documentation, terms of service, and any updates made after my last knowledge update for the most accurate and current information. If you are considering using Cash App for business transactions, you may want to explore the specific features and offerings of Cash App for Business and ensure compliance with the platform’s policies. Additionally, you should consult with a legal or financial professional to make informed decisions based on your business needs.
